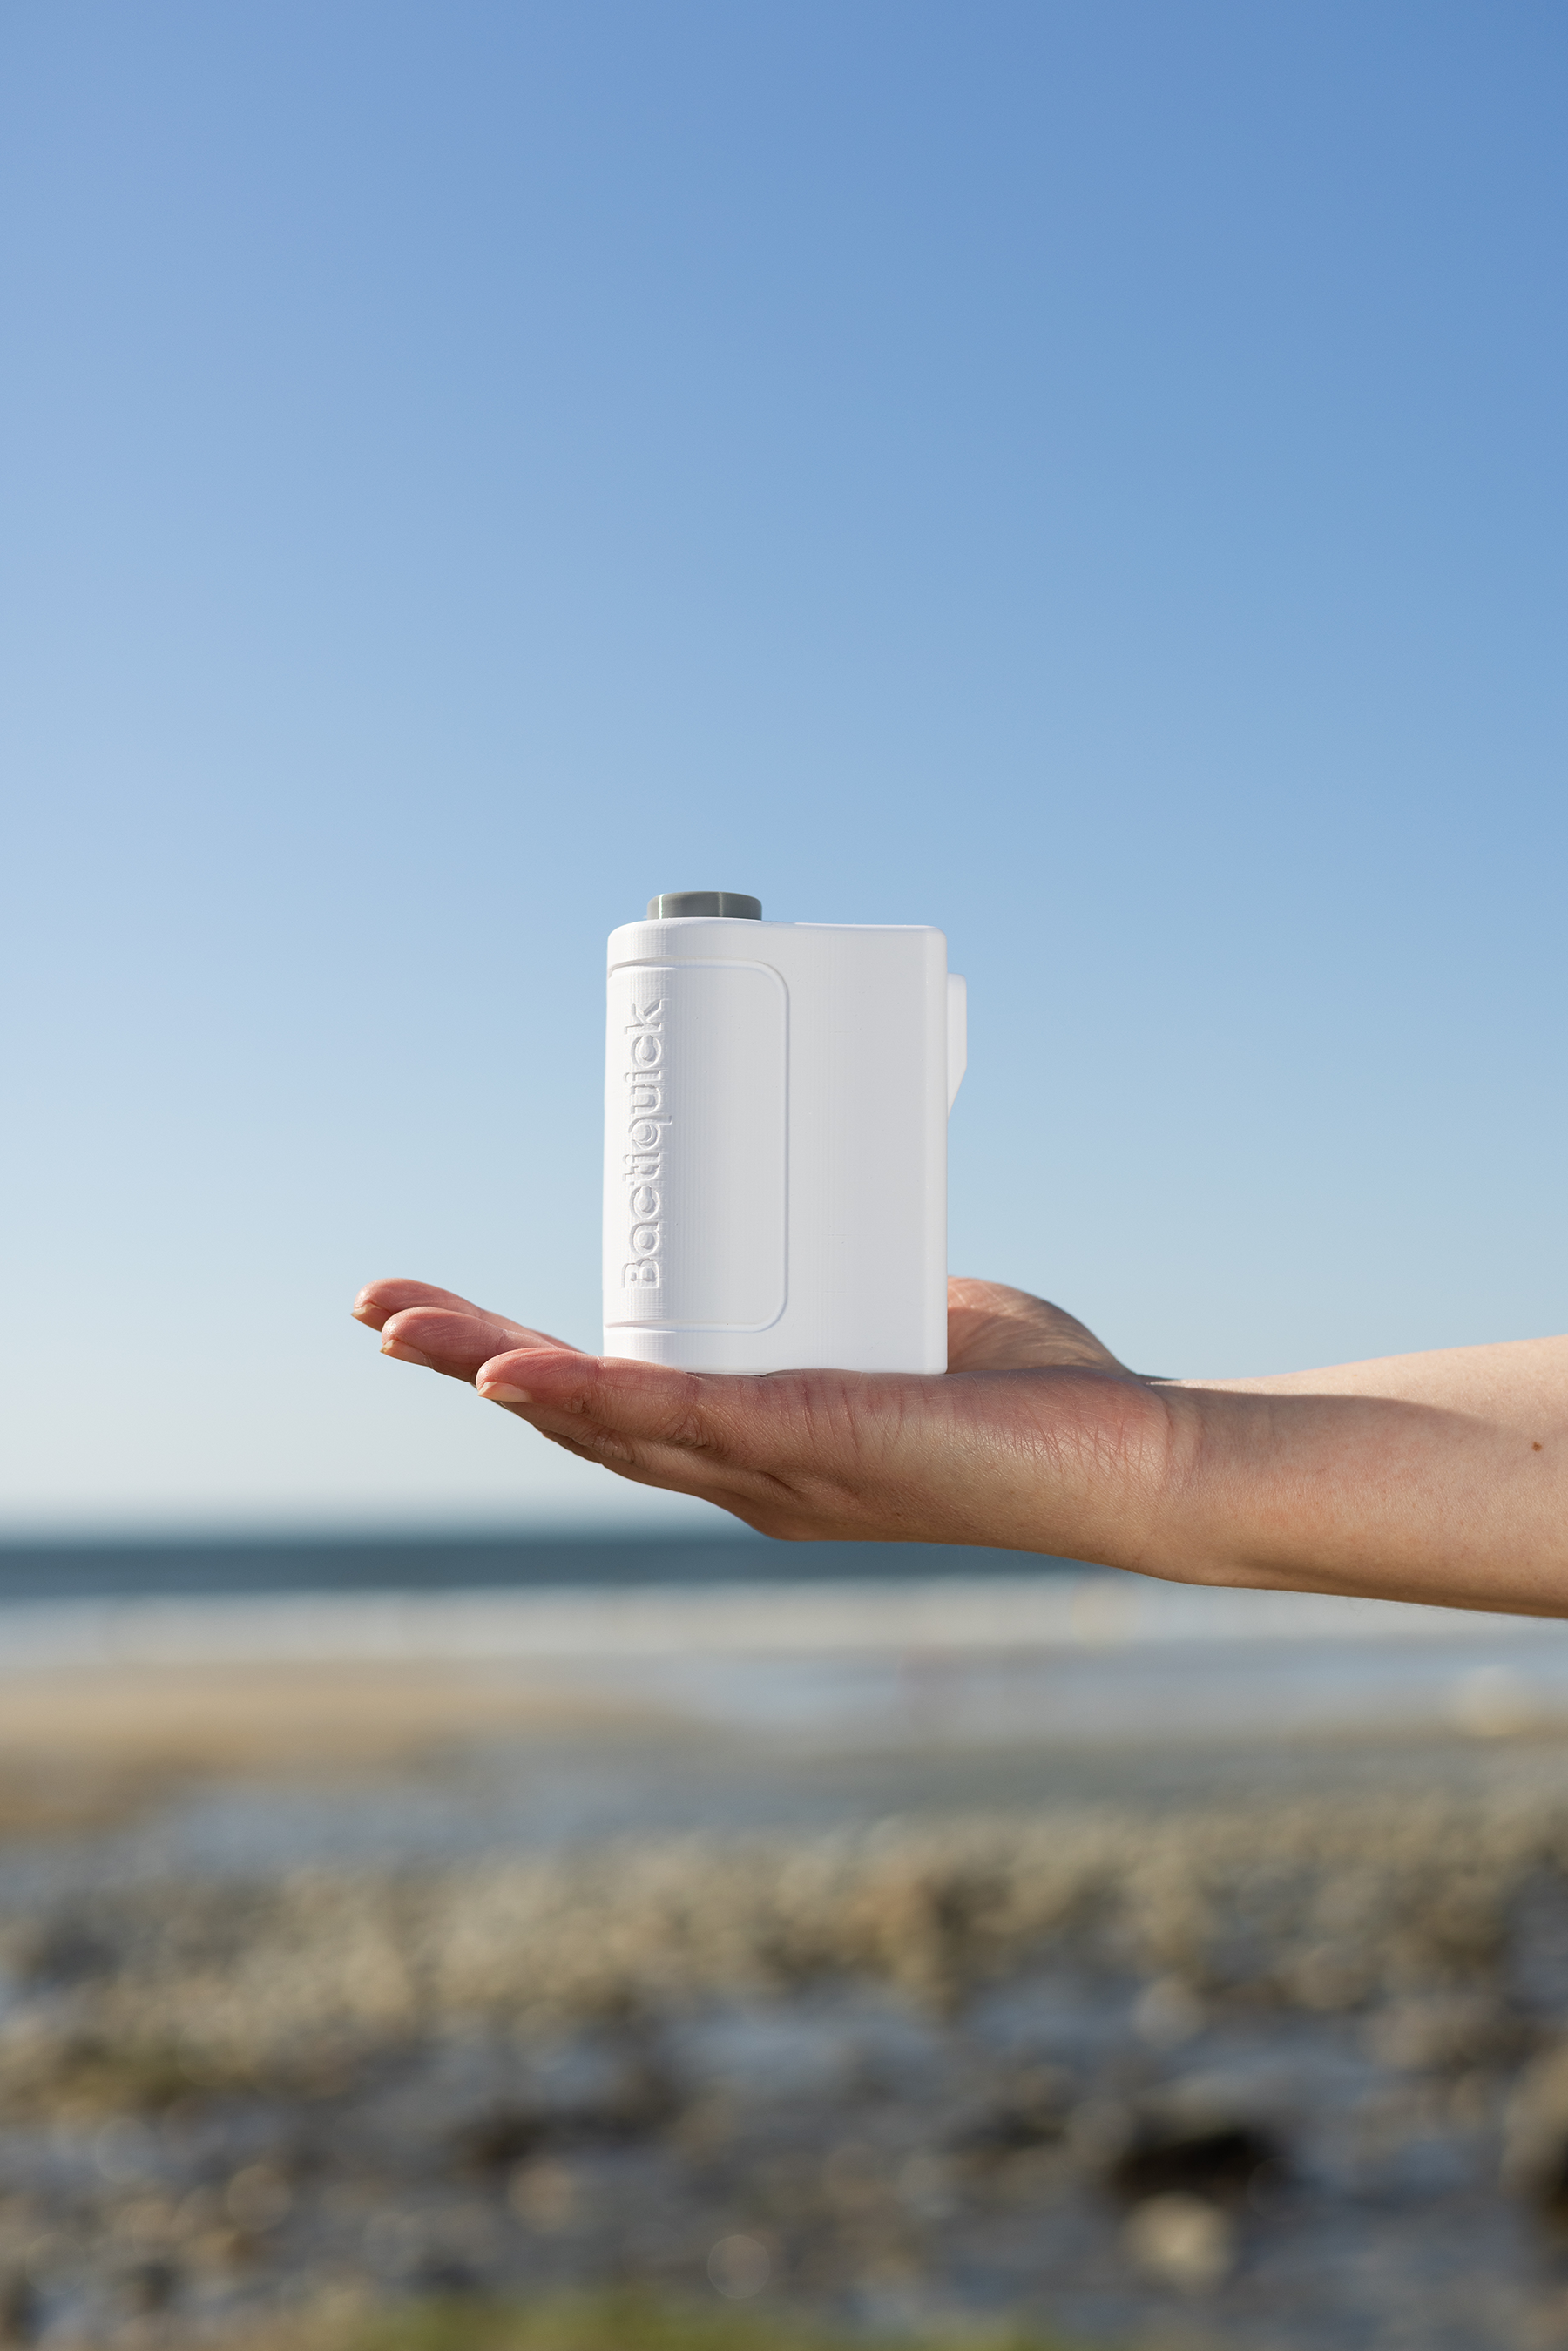


Landing Cards

Automatic upload of test results
Seamlessly sync your clinical data with central laboratory servers as soon as a test completes.

Improved connection
Enhanced Bluetooth stability for uninterrupted diagnostic sessions in high-interference environments.

Battery status
Real-time percentage display and intelligent low-power alerts for field testing.
Landing Cards
Heat-up display
Seamlessly sync your clinical data with central laboratory servers as soon as a test completes.

Time remaining
Precise countdown displayed during active test protocols for workflow management.

What3words
Precision location editing using the global What3Words standard for rural field work.
How to update
It’s easy to update the firmware on your Bactiquick device – just follow these steps on your desktop.
1
Download firmware
Download the latest firmware binary file to your computer's local storage.
2
Locate File
A file called FIRMWARE.BIN will be created in your computer's downloads folder.
3
Connect device
Plug your Bactiquick device into your computer and turn it on. A small (4.5MB) USB drive will appear that contains one file called “FIRMWARE.BIN”.
4
Overwrite Existing
Drag and drop the new “FIRMWARE.BIN” onto the existing “FIRMWARE.BIN” file in the small Bactiquick USB drive.
5
Auto-update
After a couple of seconds, the yellow light on your Bactiquick will flash and the device will restart – it’s now updated.
We’re here to help
Our technical support team is available 24/7 to help you with the firmware migration or any device concerns.
